To remove Corsair CPU cooler, lightly twist the cooler clockwise and counterclockwise to loosen the seal between the heatsink and the CPU. Carefully lift the cooler from the CPU.
Make sure the CPU remains seated in the socket. Removing a Corsair CPU cooler is a straightforward process that can be done with minimal effort. Whether you need to replace the cooler or perform maintenance tasks, knowing how to remove it correctly is essential.
By following a few simple steps, you can safely remove a Corsair CPU cooler without causing any damage to the components. We will guide you through the process of removing a Corsair CPU cooler, ensuring a hassle-free experience. So, let’s get started and learn how to remove a Corsair CPU cooler effectively.
Preparing For Cooler Removal
Learn how to remove a Corsair CPU cooler with ease. Simply twist the cooler clockwise and counterclockwise to loosen the seal between the heatsink and the CPU lid. Lift the cooler carefully, ensuring the CPU remains seated in the socket.
Gathering Necessary Tools And Materials
Before removing the Corsair CPU cooler, make sure you have all the necessary tools and materials handy. This will ensure a smooth and efficient removal process. Here’s a checklist of what you’ll need:
- Screwdriver – Depending on the type of CPU cooler you have, you may need a Phillips or a flat-head screwdriver.
- Thermal paste remover – You’ll need this to clean the thermal paste off the CPU prior to cooler removal.
- Clean cloth or paper towels – These will come in handy for wiping off any residue left behind after removing the cooler.
- Isopropyl alcohol – This is used to remove any stubborn thermal paste residue.
- Anti-static wrist strap – To protect your computer from electrostatic discharge, it’s important to wear an anti-static wrist strap during the removal process.
Turning Off The Computer And Disconnecting Power
Before you begin removing the CPU cooler, it’s crucial to turn off your computer and disconnect the power source. This will prevent any potential damage to your hardware and ensure your safety throughout the process. Here’s how to do it:
- Save any ongoing work and close any open applications.
- Shut down your computer by clicking on the Start button and selecting “Shut down.”
- Once the computer has shut down completely, unplug the power cord from the wall socket.
- For added safety, press the power button on your computer’s case a few times to discharge any remaining power.
Grounding Yourself For Electrostatic Discharge Protection
Electrostatic discharge can cause damage to sensitive computer components, such as the CPU. To protect your hardware during the cooler removal process, it’s essential to ground yourself properly. Here are the steps to follow:
- Attach the metal clip of the anti-static wrist strap to a metal part of your computer case or a grounded object.
- Ensure that the wrist strap fits snugly around your wrist.
- Make sure the grounding wire of the wrist strap is in contact with your skin.
- Throughout the removal process, avoid touching any sensitive components with your bare hands. Instead, use the tools mentioned earlier.
By taking these precautions and following the steps, you can safely and effectively remove your Corsair CPU cooler. Remember to handle the components with care and keep the workstation clean to ensure optimal performance when installing a new cooler.
Removing Fan And Aio Cables
To safely remove a Corsair CPU cooler, start by gently twisting the cooler clockwise and counterclockwise to loosen the seal between the heatsink and CPU. Carefully lift the cooler from the CPU, ensuring the CPU remains seated in the socket.
Avoid scratching the CPU by using Q-tips with alcohol to dissolve any dried thermal paste.
If you’re looking to remove your Corsair CPU Cooler, it’s essential to know the right steps to ensure a smooth and safe process. One critical aspect of removing the cooler is detaching the fan from the radiator and disconnecting the AIO cables from the motherboard. In this section, we will walk you through the steps required to perform these tasks correctly.
Detaching The Fan From The Radiator
To remove the fan from the radiator, follow these simple steps:
- Locate the fan attached to the radiator of your Corsair CPU Cooler.
- Using a screwdriver, carefully remove the screws or clips securing the fan to the radiator.
- Gently lift the fan away from the radiator, detaching it completely.
Once you have successfully detached the fan from the radiator, you can move on to disconnecting the AIO cables from the motherboard.
Disconnecting The Aio Cables From The Motherboard
To disconnect the AIO cables from the motherboard, follow these steps:
- Identify the AIO cables connected to the CPU cooler and the motherboard.
- Locate the connectors or headers where the AIO cables are plugged into.
- Gently unplug the AIO cables from the connectors by carefully pulling them straight out.
Make sure to disconnect each AIO cable from its respective connector carefully, ensuring no damage is done to the cables or connectors.
By following these steps, you can easily remove the fan from the radiator and disconnect the AIO cables from the motherboard of your Corsair CPU Cooler. Remember to handle all components delicately to avoid any accidental damage. Once successfully removed, you can proceed with further maintenance or replacement tasks.
Removing The Radiator And Fans
To remove the radiator and fans of a Corsair CPU cooler, gently twist the cooler clockwise and counterclockwise to loosen the seal between the heatsink and the CPU lid. Carefully lift the cooler away, ensuring the CPU remains seated in the socket.
In order to remove the Corsair CPU cooler, it is important to uninstall the radiator from the case and remove the fans from the radiator. This step-by-step guide will walk you through the process to ensure a smooth and hassle-free removal.
Uninstalling The Radiator From The Case
To begin, follow these steps to uninstall the radiator from the case:
- Power off your computer and unplug it from the power source for safety.
- Locate the radiator inside your computer case. It is usually mounted on the front, top, or back of the case.
- Remove any screws or fasteners securing the radiator to the case. Keep track of these screws as you will need them later.
- Gently disconnect any cables or connections attached to the radiator, such as fan cables or pump cables.
- Once all the screws and cables are disconnected, carefully lift the radiator out of the case. Be cautious not to damage any other components while doing so.
Removing The Fans From The Radiator
After uninstalling the radiator from the case, it’s time to remove the fans from the radiator:
- Inspect the radiator and locate the screws or clips securing the fans to the radiator.
- Using a screwdriver or your fingers, carefully remove the screws or unclip the fans from the radiator. Keep track of the screws for later use.
- Once the fans are detached, gently lift them away from the radiator while ensuring not to damage the fan blades or cables.
By following these steps, you should be able to successfully remove the Corsair CPU cooler’s radiator and fans from your computer. Remember to keep track of all the screws and cables to make the reinstallation process easier. Now you can proceed with other maintenance tasks or install a new CPU cooler if needed.
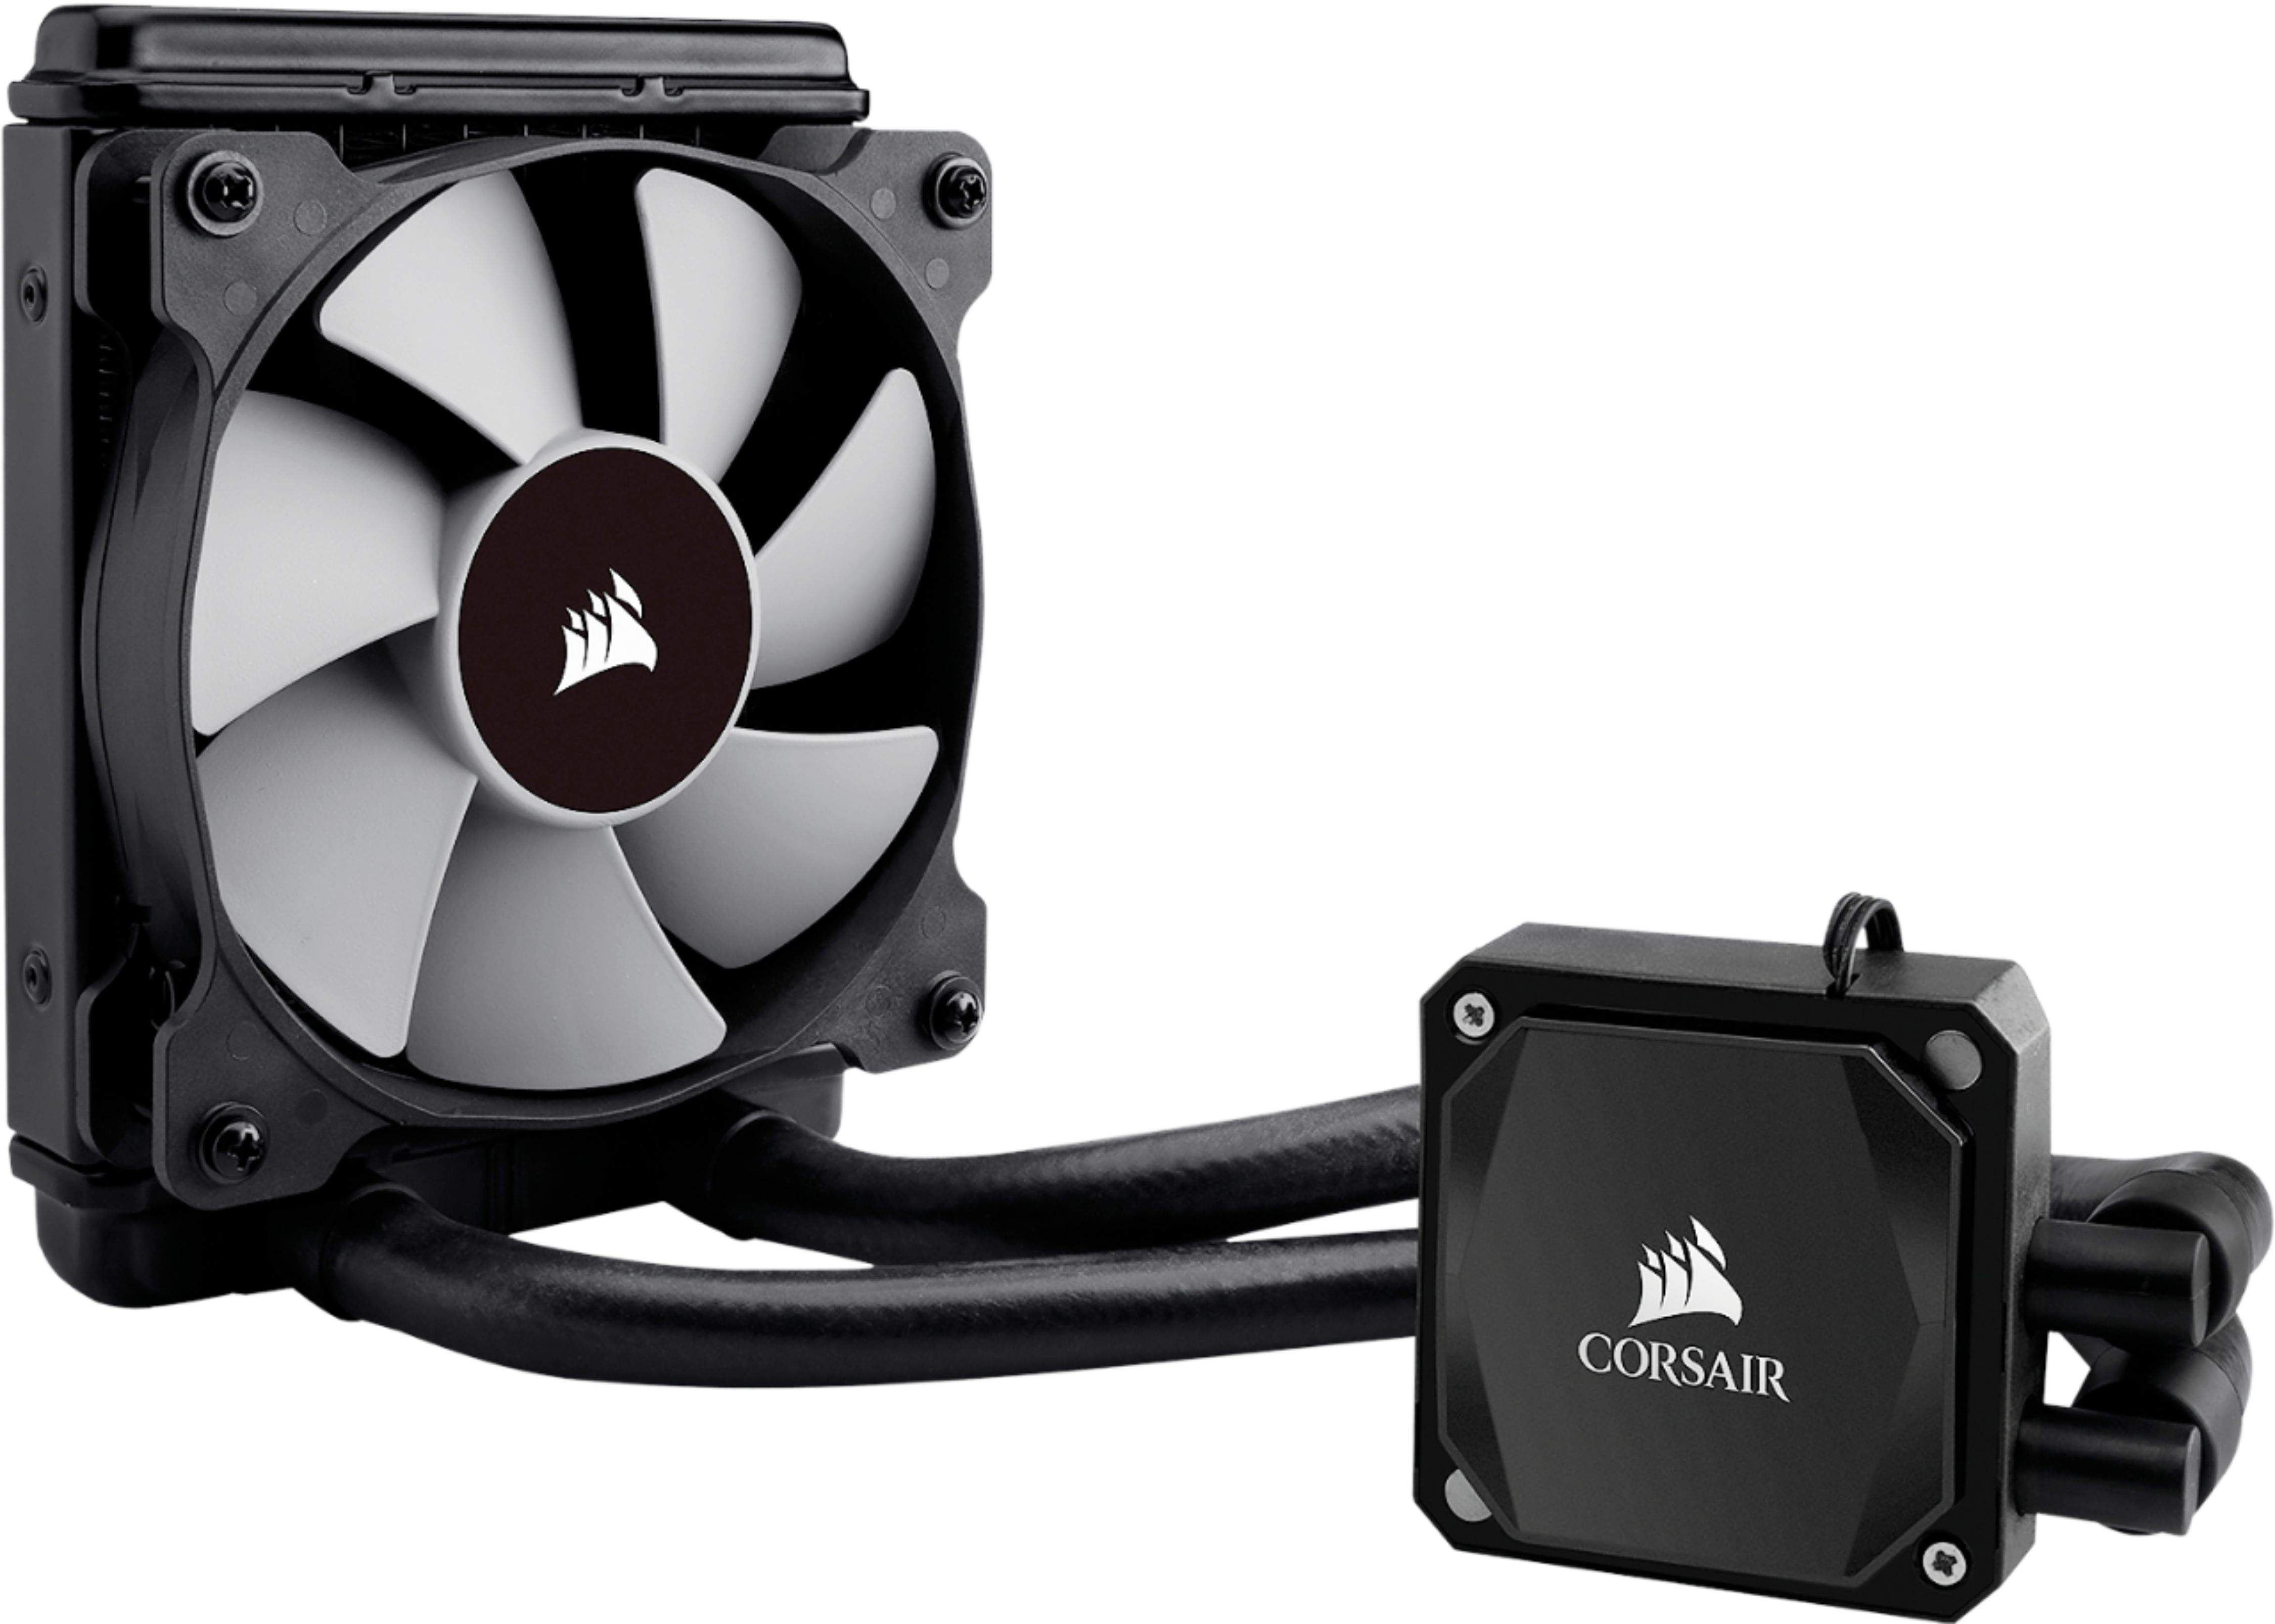
Credit: www.bestbuy.com
Disassembling The Cpu Block
If you’re looking to upgrade or replace your Corsair CPU cooler, one of the first steps you’ll need to take is disassembling the CPU block. This process involves loosening the CPU block screws and detaching the CPU block from the CPU itself. In this guide, we’ll walk you through these steps to ensure a safe and successful removal of your Corsair CPU cooler.
Loosening The Cpu Block Screws
The first step in disassembling the CPU block is to loosen the screws that hold it in place. To do this, locate the screws on the CPU block and use a screwdriver to gently turn them counterclockwise. Be sure to apply even pressure and avoid applying too much force, as this could potentially damage the CPU or its surroundings. Once the screws are loose, you’re ready to move on to the next step.
Detaching The Cpu Block From The Cpu
After loosening the screws, you can proceed to detach the CPU block from the CPU itself. To do this, carefully lift the CPU block from the CPU, making sure not to damage any surrounding components. It’s important to note that when done correctly, the CPU should remain seated in the socket, and you should only be removing the CPU block. Take your time and double-check that you’re lifting the CPU block and not the CPU itself.
Once you have successfully detached the CPU block, you can proceed with the next steps in your CPU cooler replacement or upgrade process. Remember to handle the CPU block with care and follow any additional instructions provided by Corsair or your CPU cooler manufacturer.
By following these steps to disassemble the CPU block, you’ll be well on your way to removing your Corsair CPU cooler safely and effectively. With the CPU block removed, you can continue the process of installing a new cooler or taking other necessary steps to upgrade your PC’s cooling system. Good luck!
Removing The Backplate
When it comes to removing the backplate of your Corsair CPU cooler, it’s important to follow the proper steps to ensure a smooth and safe removal process. Uninstalling the backplate from the motherboard requires careful attention to detail to avoid any damage to your CPU or other components. In this guide, we’ll walk you through the steps of removing the backplate, ensuring a clean and smooth mounting surface for your CPU cooler.
Uninstalling The Backplate From The Motherboard
Before you begin the process of removing the backplate from the motherboard, make sure to gather the necessary tools, such as a screwdriver, to easily remove the screws holding the backplate in place.
Here are the steps to uninstall the backplate:
- Start by powering down your computer and unplugging it from the power source to ensure your safety.
- Carefully open your computer case and locate the Corsair CPU cooler and its backplate. The backplate is typically attached to the motherboard.
- Using a screwdriver, remove the screws holding the backplate in place. Make sure to keep track of the screws as you will need them to install the new CPU cooler or reattach the current one.
- Gently lift the backplate away from the motherboard, ensuring not to put excessive pressure on any components or cables nearby.
- Inspect the backplate and motherboard for any signs of damage or wear. If you notice any issues, it may be necessary to replace the backplate or consult a professional.
Ensuring A Clean And Smooth Mounting Surface
After removing the backplate, it is crucial to ensure a clean and smooth mounting surface for your CPU cooler. This will help to optimize heat transfer and prevent any potential damage to your CPU.
Follow these steps to ensure a clean and smooth mounting surface:
- Use a lint-free cloth or a cotton swab dipped in isopropyl alcohol to gently clean any thermal paste residue from the surface of the CPU.
- Similarly, clean the surface of the CPU cooler to remove any thermal paste or debris.
- Inspect both surfaces for any signs of damage or warping. If you notice any issues, it may be necessary to replace the CPU cooler or consult a professional.
- Apply a thin and even layer of new thermal paste to the surface of the CPU. This will help to ensure optimal heat transfer between the CPU and the cooler.
By carefully following these steps, you can safely remove the backplate of your Corsair CPU cooler and ensure a clean and smooth mounting surface for optimal performance. Remember to handle all components with care and consult the manufacturer’s instructions if you have any specific questions or concerns.
Frequently Asked Questions Of How To Remove Corsair Cpu Cooler
How Do I Remove A Cpu Cooler From My Cpu?
To remove a CPU cooler, gently twist it clockwise and counterclockwise to loosen the seal. Carefully lift the cooler from the CPU, keeping it seated in the socket. Avoid damaging the processor by using a back-and-forth twisting motion while removing the cooler.
How Do You Remove The Backplate On A Corsair Cooler?
To remove the backplate on a Corsair cooler, gently twist the cooler clockwise and counterclockwise to loosen the seal. Carefully lift the cooler from the CPU, ensuring the CPU remains in the socket. Avoid damaging the processor by using a back-and-forth twisting motion when removing the cooler.
How Do I Control My Corsair Cpu Cooler?
To control your Corsair CPU cooler, follow these steps: 1. Click the menu button on each fan tile to select a cooling preset. 2. If you want a custom profile, click the + button in Cooling Presets. 3. Choose a fixed percentage, fixed RPM, or a custom curve for your cooling.
4. Voila! You now have control over your Corsair CPU cooler.
How To Replace A Cpu Cooler?
To replace a CPU cooler, gently twist it clockwise and counterclockwise to loosen the seal. Lift the cooler carefully, ensuring the CPU remains seated in the socket. Clean off any dried paste with alcohol and Q-tips. Avoid scratching the CPU while removing the cooler.
Conclusion
Removing the Corsair CPU cooler is a simple process that requires careful steps to avoid any damage. By following the instructions provided, you can safely remove the cooler without causing harm to the processor. Start by loosening the seal between the heatsink and CPU, then carefully lift the cooler from the CPU.
Remember to clean off any thermal paste before reinstalling a new cooler. With these steps, you can easily remove the Corsair CPU cooler and ensure smooth operation for your computer.


Leave a Reply